A Guide to Post Processing MJF Parts
While MJF creates parts fit for end-use straight off the printer, applying a post-process to your 3D printed parts can elevate the properties and aesthetics. At Endeavor 3D, we use a series of post-processing steps to refine MJF parts, ensuring they meet industry standards and customer-specific requirements. In this article, we’ll uncover the various post-processing methods available for MJF parts at Endeavor 3D.
Initial Processing
Depowdering
Bead Blasting
Pros
![]() Enhances part durability
Enhances part durability
![]() Minimizes surface defects
Minimizes surface defects
![]() Removes residual powder
Removes residual powder
Advanced Finishing
Vapor Smoothing

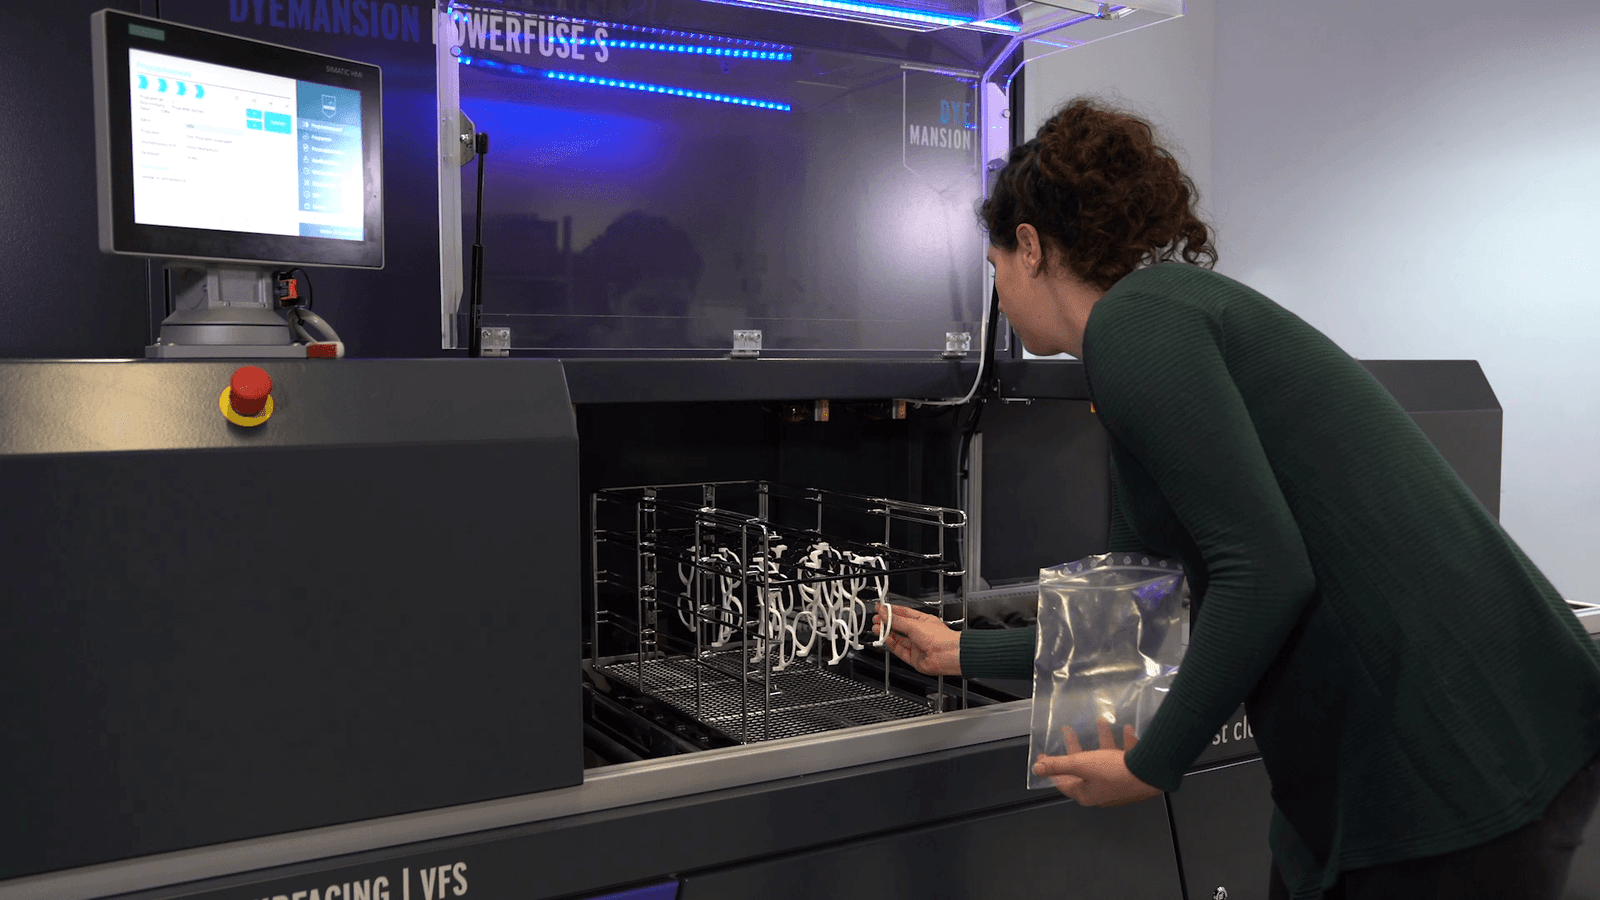
Powerfuse S vapor smoothing technology. Source: DyeMansion
Pros
![]() Increased mechanical properties
Increased mechanical properties
![]() Biocompatible
Biocompatible
![]() Creates a smooth surface (even parts with intricate and complex geometries)
Creates a smooth surface (even parts with intricate and complex geometries)
Design Guidelines
Maximum Size | 300mm x 570mm x 270mm |
Minimum Wall Thickness | 1mm for PA materials and 1.5mm for TPE material. |
Channels and Openings | A continuous channel with a diameter of 15mm and a length of approximately 250mm is processable. |
Moving Parts | Ideally, the parts are separated and mounted separately. Depending on the application, spaces and fixers can be added to the design to avoid contact. |
Tumble Smoothing
Tumble smoothing has two key benefits for 3D-printed parts — improved functionality and enhanced aesthetics. Once the material is tumbled and becomes smoother, it enables moving parts to operate with a lower coefficient of friction. This makes it ideal for parts that need to be assembled such as hinges, actuators, and clips. The improved surface roughness also improves porosity, making tumbled parts more resistant to fluids.
Bel Air high-energy centrifugal disc finisher for tumble smoothing
Texturing
When using this tool, we can create intricate, high-fidelity textures directly on .STEP files. To do this, SolidWorks 3D Textures relies on grayscale heightmap images to modify surface textures.
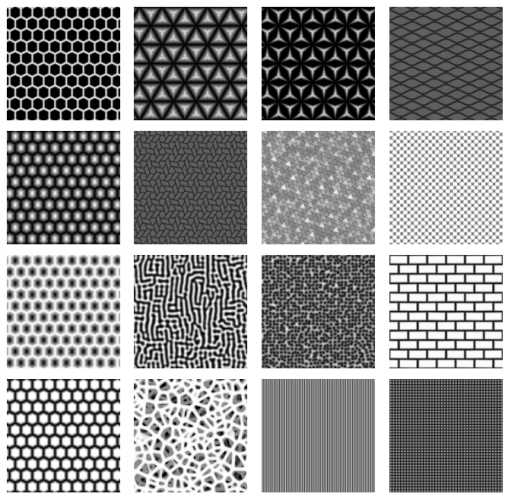
A heightmap image is a grayscale image where different shades of gray represent varying heights on the part’s surface. When applied in SolidWorks, darker areas create recessed regions, while lighter areas form elevated sections, translating directly into the printed part’s texture. This capability means that almost any pattern or design can be converted into a tangible texture on the part’s surface.

Various textures on 3D printed parts. Source: HP
The 3D Textures tool also offers complete control over key parameters that affect the appearance and performance of the part’s texture including depth, pattern scale, orientation, and placement. By having precise control, we can ensure that the final product meets specific design requirements.
HP 3D Digital Texture Library
Another powerful tool used to incorporate textures into Multi Jet Fusion (MJF) part designs is HP’s 3D Digital Texture Library. This extensive library allows designers and engineers to choose from thousands of texture options available. Designers can create parts that have enhanced grip, reduced glare, or improved wear resistance, all while maintaining the precision that MJF technology offers.
To streamline the design process further, HP’s 3D Digital Texture Visualization Tool enables designers to preview how textures will appear on 3D models before production. This tool allows for real-time modifications to pattern, scale, and orientation, providing a high level of accuracy in visualizing the final part. For engineers working on functional prototypes or end-use parts, this means that design decisions regarding texture can be finalized before a single part is printed, reducing the need for reworks. By integrating this visualization step with the 3D printing process, designers can ensure that the chosen texture will not only enhance the appearance but also meet specific performance requirements, such as improved durability or tactile feedback.
Dyeing and Coloring
Deep Dyeing with DyeMansion
Dyed (Black): Dyed black is the most popular post-processing color choice for MJF parts at Endeavor 3D. The color is specifically preferred in the automotive industry because of its ability to withstand external influences. For example, DyeMansion’s Automotive BlackX color is heat and light-resistant, has good scratch resistance, and has excellent color fastness.
Dyed black Nylon and TPU 3D printed parts
Wide Color Range: For years, color options for grey MJF parts have been limited to black and dark shades. Furthermore, incorporating colors with unique properties for specific applications, such as increased heat and UV resistance for the automotive industry, was nonexistent for MJF parts. With DyeMansion we offer 17 standard colors.
Source: DyeMansion
The system is equipped with an RFID chip for quick scanning of your cartridge and easy handling. This keeps the colors used by our customers organized for more efficient tracking.
Custom Colors with Endeavor 3D
At Endeavor 3D we’ve introduced custom coloring services, adding an extra layer of creative freedom and allowing designers to mass customize MJF 3D printed parts. The problem with MJF color 3D printing is getting that consistent color-matching capability without experiencing fading. Endeavor 3D addresses this issue by implementing advanced quality control and fade-resistant dyeing processes.
We use state-of-the-art quality control equipment to ensure consistent and high-quality color matching including but not limited to:
- Keyence VL-500 3D Scanner and Keyence VR-6000 Optical Profilometer: Allows us to measure and verify part dimensions and surface quality with extreme accuracy, ensuring that colors are applied to the exact specifications.
- X-Rite MetaVue V3200 Non-Contact Spectrophotometer: Helps us achieve flawless color matching by analyzing and adjusting the color spectrum for each piece.
- SUV-W161 Accelerated Weathering Chamber: Ensures durability and long-lasting color by stimulating environmental conditions.
