5 Essential Quality Control Tools for Reliable 3D Printing
One way to achieve quality in every 3D printed part is by adopting advanced measurement and testing equipment. These tools help ensure dimensional accuracy, surface quality, mechanical properties, and color consistency. In this article, we’ll explore five essential quality control tools used at Endeavor 3D that enable us to consistently deliver high-quality parts.
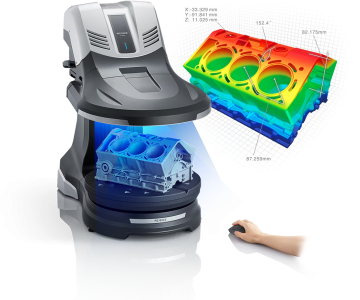
1. Keyence VL-500 3D Scanner/CMM
Advantages
- High-Accuracy Measurement: The VL-500 achieves an accuracy of ±10 μm, allowing us to detect even the slightest deviations in part geometry. This is essential when verifying that functional components conform to tight dimensional tolerances.
- Large Measurement Range: The 300mm measurement range allows for large components to be scanned in one go, reducing the need for repositioning or multiple scans.
- Fast Non-Contact Measurement: Within seconds, parts can be measured using laser triangulation and high-speed data acquisition. The VL-500 minimizes the time it takes to inspect parts without sacrificing accuracy. This prevents surface damage or deformation that could occur with traditional contact-based measurement methods such as tactile probes.

Keyence VL-500 3D Scanner/CMM
2. Keyence VR-6000 Optical Profilometer
Advantages
- Nanometer-Level Precision: The VR-6000 offers surface roughness measurement down to sub-micron levels, with a repeatability of ±0.1μm. This is crucial when assessing surface finishes that affect performance, such as in parts used in fluidic applications (e.g., automotive fuel injectors or medical devices).
- High-Speed Capture: The VR-6000 is capable of scanning at speeds up to 100mm/sec, which allows for rapid surface inspection without sacrificing detail.
- Comprehensive measurement functions: The VR-6000 provides accurate measurement data for the profile, cross-section, flatness, warpage, volume, dimensions, roughness, and GD&T of the part.
3. Instron Ceast 9050 Impact Tester
Advantages
- Versatile Impact Energy: This machine is capable of delivering impact energies of up to 50J, enabling it to test materials ranging from flexible polymers like TPU to more rigid materials like PA12. The ability to handle high-impact forces is essential for evaluating the toughness of parts used in automotive, aerospace, and consumer electronics applications.
- High Reproducibility and Consistency: The system’s automatic specimen positioning and repeatable impact conditions ensure consistent test results. This is particularly beneficial for 3D printed parts, where material and layer adhesion variations can impact performance. Consistent testing helps verify the repeatability of production batches, ensuring every part meets the same durability standards.
4. MTS 50Kn and Instron 5Kn Tensile Machines
MTS 50Kn Advantages:
- Maximum Load of 50,000N: Ideal for high-strength materials, including engineering plastics and metals. This machine provides the data necessary to ensure that load-bearing parts will not fail under stress, making it critical for industrial applications such as jigs, fixtures, and automotive components.
- High Precision Load Cells: The use of precise load cells ensures accurate stress-strain data, which allows engineers to fine-tune print settings and material selection to meet the strength requirements of the part.
Instron 5Kn Advantages:
- Specialized for Flexible Materials: With a maximum load capacity of 5,000N, the Instron 5Kn machine is used for softer materials, such as TPU, which are often employed in applications requiring flexibility and elongation. Measuring the tensile properties of these materials is essential for parts that need to endure bending, stretching, or compression without failure.
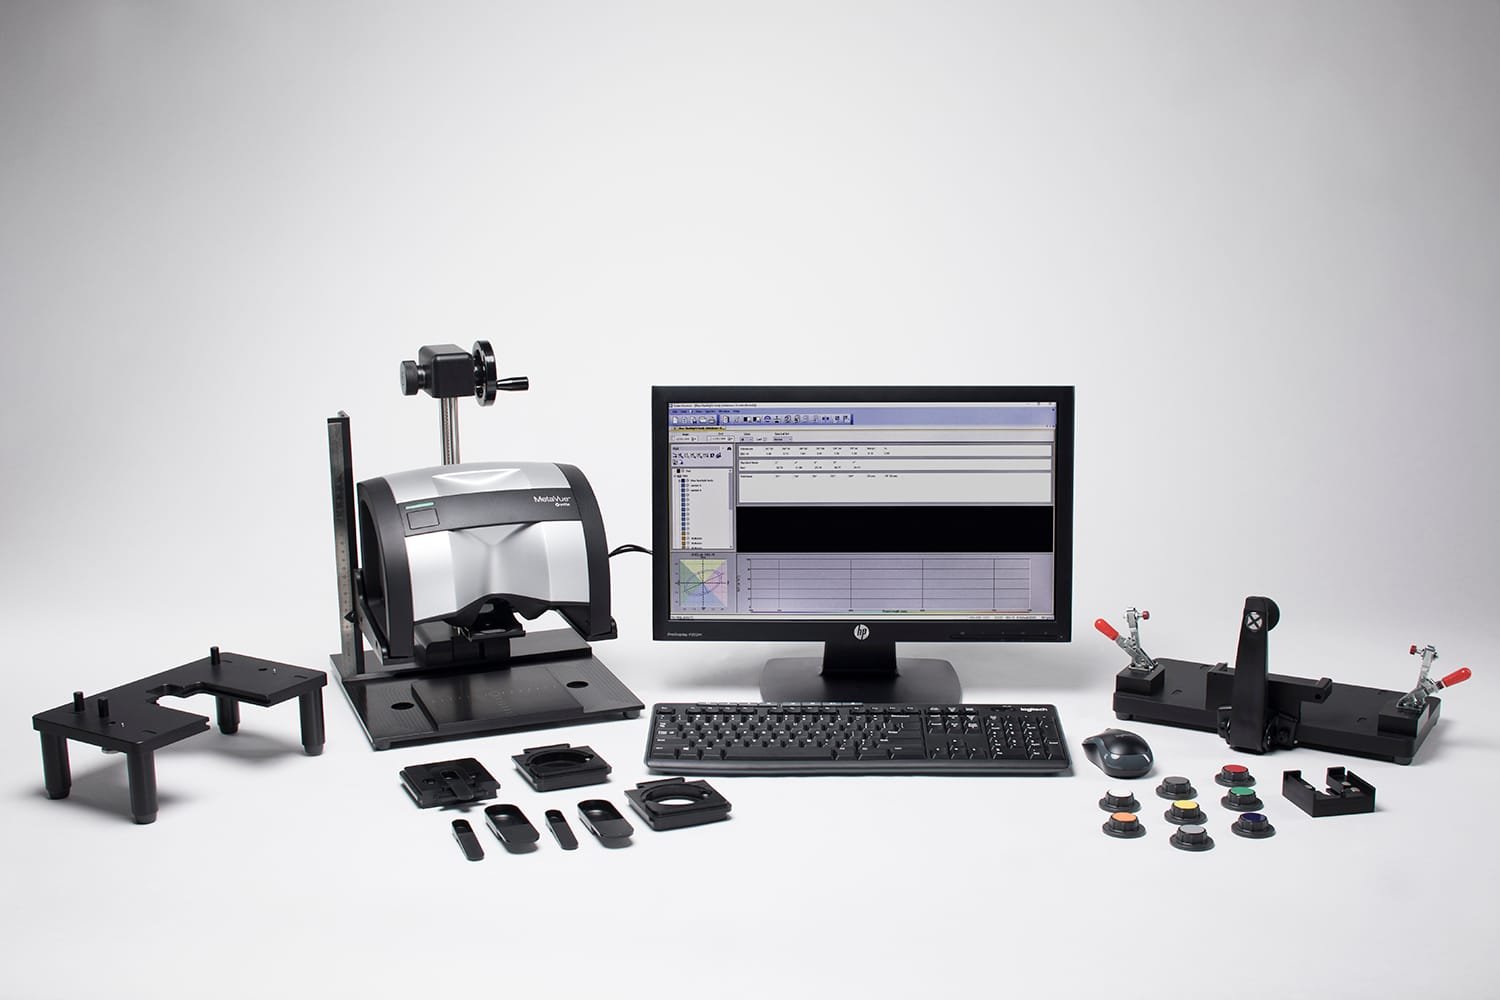
5. X-Rite MetaVue VS3200 Non-Contact Spectrophotometer
Advantages
- Spectral Range:
- Capturing true color data in various lighting conditions is critical in maintaining consistent color quality standards. This device operates across a spectral range of 400-700 nanometer, the wavelength range for visible light.
- Multiple Viewing Angles: The MetaVue 3200 not only compensates for color shifts caused by variable lighting conditions but also takes into consideration surface orientation. This feature is particularly important for multi-faceted or curved parts

X-Rite MetaVue VS3200 Non-Contact Spectrophotometer. Source: Development P.C.
Conclusion
Endeavor 3D is the largest contract additive manufacturer in the southeast United States. Our 65,000-square-foot advanced manufacturing facility comes equipped with a state-of-the-art quality control laboratory designed to uphold the highest standards of precision and consistency. From initial design to final inspection, our commitment to quality ensures that every part meets rigorous industry specifications. Using industry-leading measurement and testing tools, we validate and inspect 100% of our parts to guarantee performance and reliability.
Explore the full scope of our quality control equipment: https://endeavor3d.com/quality-and-validation/
